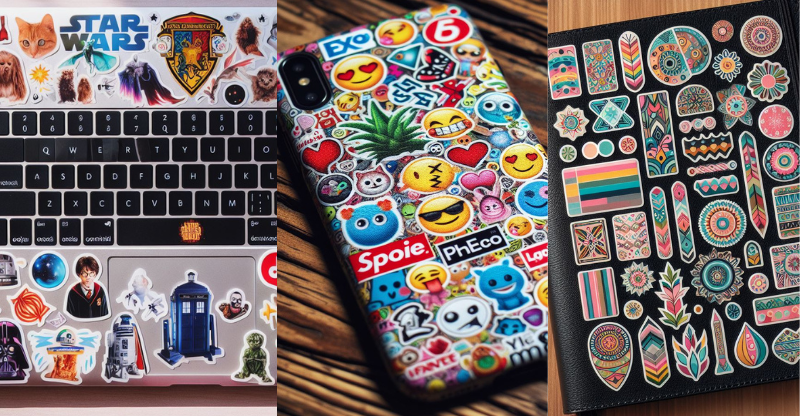
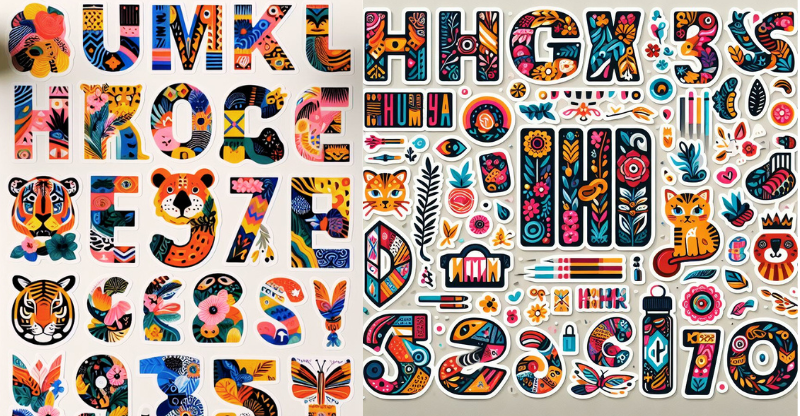
Imagine yourself as a painter, with your chosen surface as the blank canvas and stickers as your vibrant palette of colors. In the realm of décor, stickers are not just playful adornments, they’re a powerful tool to express your creativity and personality. We’ll guide you from the basics of understanding sticker materials, to mastering the art of application, and even troubleshooting common issues. Intrigued? Stick around, because we’re just getting started.
Key Takeaways
- Vinyl stickers are more durable than paper stickers and can withstand various environmental conditions.
- Clear stickers blend seamlessly onto any surface.
- Specialty materials like holographic or matte stickers offer unique visual effects.
- Properly preparing the surface is crucial for successful sticker application.
Understanding Sticker Materials
Dive into the world of various sticker packs and materials, understanding that each type has unique adhesive properties and durability, making certain ones more suitable for specific applications than others. Your choice of material can significantly impact the longevity and effectiveness of your stickers.
When comparing the durability of vinyl and paper stickers, vinyl stands out as the more robust option. Versatile and durable, vinyl stickers can withstand various environmental conditions making them a suitable choice for personal stickers for both indoor and outdoor use. They’re resistant to water and UV rays, ensuring their colors stay vibrant for longer.
On the other hand, paper stickers are a cost-effective alternative. While they may not match the durability of their vinyl counterparts, they’re optimal for indoor applications where they’re less likely to face harsh conditions.
Different types of adhesive for stickers also come into play. The adhesive quality determines how well the sticker will stick and how long it will stay. Certain adhesives work better with custom stickers for specific materials and surfaces.
And let’s not forget about clear stickers, which blend seamlessly onto any surface, or specialty materials like holographic or matte stickers, offering unique visual effects. Each type has its strengths, and understanding them will help you make an informed choice for your sticker needs.
Preparing Your Application Surface
Before you dive into the exciting process of sticker application, it’s crucial to prime your surface properly to ensure a flawless and lasting result.
The first step in preparing your application surface is to clean it thoroughly with an all-purpose wall cleaner. This action helps to remove any dirt or grease that could interfere with adhesion.
After cleaning, allow the surface to completely dry. This step is vital, as any remaining moisture can affect the effectiveness of the adhesive.
Choosing the right adhesive is as important as the sticker itself. The wrong choice could result in a less than perfect application or damage to the surface.
Next, lightly mark the wall to plan the placement of each sticker. Remember to turn off power when working around electrical outlets. Measure and cut your stickers carefully to fit these areas.
The Sticker Application Process
Now that your surface is prepped and ready, let’s get down to the actual process of applying the stickers. Start by aligning your sticker to the desired area. Partially peel away the backing paper using a careful peeling technique. Apply the sticker’s edge to the surface and slowly remove the rest of the backing as you smooth the sticker onto the wall.
Use a straight edge tool to help with alignment and ensure even adhesion. Press firmly to adhere the sticker to the surface completely. If there are any air bubbles, don’t worry. Removing air bubbles is an essential part of the sticker application process. Use a credit card or a similar tool to smooth out the bubbles, working from the center of the sticker outwards.
If you’re dealing with power outlets, remember to turn off the power first and remove the outlet cover. Measure the opening, cut a rectangular piece from your sticker, and apply it to the wall.
For a finished look, measure the remaining area on white paper and transfer these measurements onto your sticker. Cut it accordingly, align it perfectly, and press firmly for adhesion. With patience and precision, you’ll achieve a seamless sticker application.
Troubleshooting Common Issues
Despite your best efforts, you might come across a few common issues during the sticker application process, but with the right strategies, you can easily overcome these hurdles.
One of the most typical problems is dealing with air bubbles. These can form if you rush the application or don’t smooth the sticker out properly. The solution is simple: use a credit card or a similar object to gently push the bubbles towards the edge of the sticker.
Another challenge you might face is ensuring long-lasting adhesion. If your sticker isn’t sticking firmly, it’s often due to a dirty or uneven surface. Make sure your surface is clean and dry before you start. If the sticker still doesn’t stick, try using a hairdryer on a low setting to warm up the adhesive on the back of the sticker, then press it firmly against clean surface of the wall.
Conclusion
You’ve got this! Now that you understand the sticker materials, know how to prep your surface, and master the transfer sticker application process, you’re ready to tackle any decorating project. Don’t be daunted by potential issues – you’re equipped with troubleshooting skills, too. Remember, practice makes perfect, so don’t fret small mistakes. Each sticker applied is a step closer to transforming your space. Embrace the journey, enjoy the process, and always ‘Stick with Ease’. Happy decorating!


