They say a picture is worth a thousand words, but have you ever considered what a sticker could say? You’re about to embark on a journey into the realm of creativity where you’ll learn to design your very own stunning stickers. From the initial brainstorming to the final cut, this guide will walk you through every step of the sticker making process. But why stop at just learning? Imagine holding a sticker that’s not only unique, but a true representation of your artistic vision. Keep going, there’s a world of creativity waiting for you at your fingertips.
Gathering Essential Sticker Design Materials
Before diving into the design process, it’s crucial to gather the right materials for your custom sticker design project, starting with selecting the perfect sticker sheet. Your choice of sticker paper is pivotal in determining the look and feel of your custom sticker. Consider factors such as size, shape, and adhesive backing when choosing the sticker sheet. The adhesive strength should be just right- not too strong to peel off paint, but sturdy enough to withstand wear and tear.
Next, you’ll need a reliable printer. High-quality inkjet printers are ideal for printing your logo and designs on sticker paper. Professional printing services can also be utilized for a more polished output. Don’t shy away from experimenting with different settings to achieve your desired results.
Additionally, you’ll need a cutting mat and design software. The software will aid in creating templates and adjusting your designs before printing. The cutting mat, on the other hand, will ensure precision and take care of the details when cutting your designs. Remember, attention to detail makes a huge difference in the final product. With these essentials at hand, you’re all set to design your stunning stickers.
Crafting Unique Sticker Designs
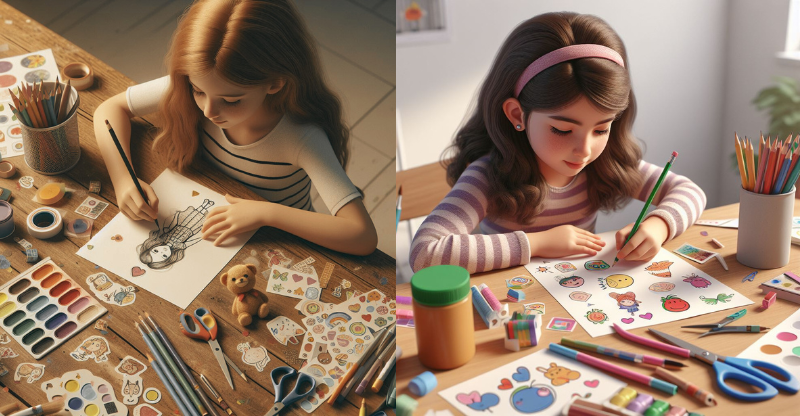
Diving into the world of sticker design, you’ll discover endless possibilities for personalization and creativity. Crafting unique sticker designs is a thrilling journey that lets you unleash your creativity. As a DIY enthusiast, you’ll find it fascinating to sketch and create your own brand of sticker.
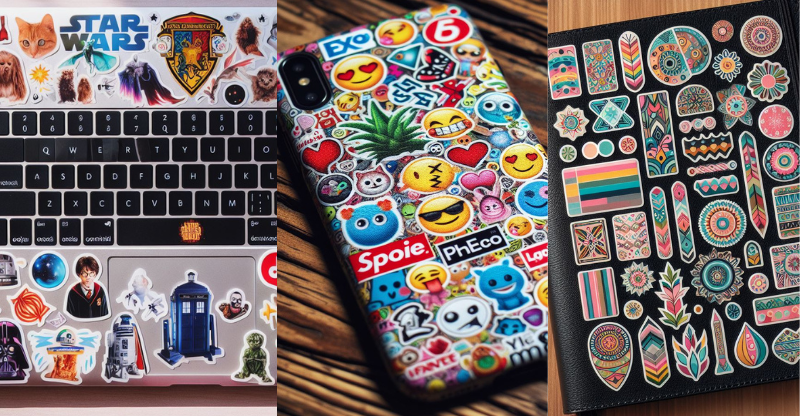
Don’t be afraid to experiment with different styles, colors, and shapes of vinyl stickers. Remember, your stickers reflect your personal taste. Want to design your own stunning stickers? Then, consider factors like size, adhesive backing, and application type. These can determine how your stickers will look and feel.
The printing process also plays a critical role in how your stickers turn out. You can use an inkjet printer or opt for professional printing services. It all depends on what you’re looking for.
Once printed, cutting, packaging, and organizing your stickers require precision. Organize by theme to make it easy to find specific stickers. Appreciate the final results as a testament to your creativity and hard work. After all, nothing beats the joy of seeing your own stunning, unique sticker designs come to life.
Uploading and Adjusting in Cricut Design Space
Once you’ve created your unique sticker design template, it’s time to upload and adjust it in Cricut Design Space. This stage is pivotal in our step-by-step guide to unleash your creativity and create stickers that truly stand out.
Begin by opening Cricut Design Space on your computer. Click on the ‘Upload’ button located on the left side of the screen. This will allow you to upload your sticker templates. Browse for your design file and select it. Once uploaded, you’ll see your design on the canvas.
At this juncture, you’ll need to adjust the size and placement of your design. Be sure it fits within the cutting area on the virtual mat. You can manipulate the size of your design by grabbing the corner and dragging it in or out.
When you’re satisfied with your adjustments, connect your printer. You’re now ready to print your stickers. Remember, the step of uploading and adjusting in Cricut Design Space is key to realizing your vision for your own customizable sticker designs. Follow these steps carefully and watch your creativity unfold in the form of stunning, personalized stickers.
Printing and Laminating Process
Now that your design is ready and adjusted in the free Cricut Design Space, it’s time to delve into the exciting realm of printing and laminating your custom stickers. This is where your stickers come to life, allowing you to bring your designs from the digital world to physical reality.
To create stunning, professional-grade stickers, pay careful attention to your printer and its settings. The clarity and quality of the images on your stickers largely depend on this. Ensure you’re using the right paper type setting and quality level for sharp, vibrant prints.
Once printed, it’s time to laminate. This step is crucial as it adds a protective layer to your own custom labels and stickers, enhancing their durability and longevity. You don’t want your beautiful designs to fade or tear easily, do you?
Cutting Stickers and Final Touches
After you’ve laminated your designs, you’re ready to move on to the crucial step of precision cutting, which will give your stickers a professional and polished edge. The cutting stickers and final touches phase is where you get to add a personal touch to customize your creation, be it through a unique shape or an intricate border design.
You can experiment with different cutting styles to add a unique touch to your stickers. Whether you opt for a classic rectangular shape or decide to mirror the contours of your design, it’s all about expressing your creativity. Remember to handle your crafting knife or scissors with care, as the precision of your cuts will greatly influence the final look of your stickers.
Once you’ve finished cutting, take a moment to appreciate the vibrant colors and intricate details of your own stickers. Hold them in your hands and feel the satisfaction of having created something truly unique. Organize your stickers by theme or category for easy access and use.
In the end, it’s all about the touch; the personal, unique touch you bring to your stickers. So go on, unleash your creativity and give your stickers that final, stunning touch.
Conclusion
So, you’re all set! With this guide, you’ve learned how to design, print, and craft your own unique stickers. From gathering materials to the final touches, every step has been covered. Now, it’s your turn to unleash your creativity, make your own design statement, and impress everyone with your stunning stickers. Remember, this is just the beginning of your creative journey. Keep exploring, keep creating, and most importantly, have fun!


